Your new sewing machine is a gateway to crafting and creating! The instruction manual is a vital resource‚ providing easy-to-understand steps.
Understanding Your New Sewing Machine
Key Components and Their Functions
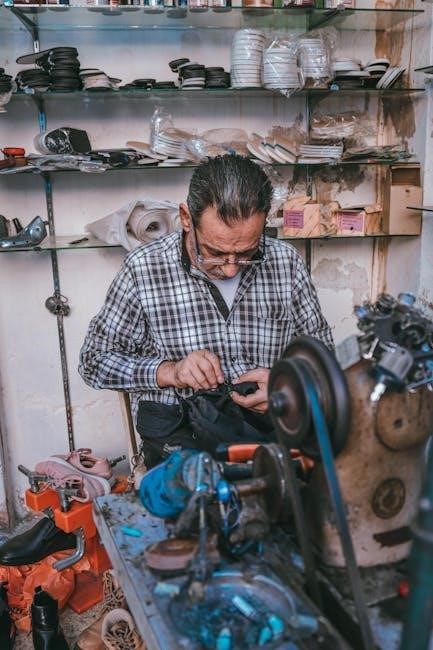
Before you begin your sewing journey‚ familiarizing yourself with the key components of your new machine is essential. The power switch brings the machine to life‚ while the foot pedal controls the sewing speed. The needle‚ secured by the needle clamp‚ pierces the fabric to form stitches. The presser foot holds the fabric in place‚ and the feed dogs move the fabric under the needle. The bobbin winder fills the bobbin with thread‚ which then interacts with the upper thread to create the stitch. The tension dial controls the tightness of the thread‚ and the stitch selector allows you to choose different stitch patterns. Refer to your instruction manual for detailed diagrams and explanations of each part‚ ensuring a smooth and successful start to your sewing adventures. Understanding each component will empower you to troubleshoot effectively later on.
Initial Setup and Threading
Correct setup is key! Winding the bobbin and threading the upper thread are crucial first steps. Consult your manual for clear‚ illustrated guidance.
Winding the Bobbin
Winding the bobbin correctly is a fundamental step in preparing your sewing machine for use. Your instruction manual will provide detailed‚ step-by-step instructions specific to your model‚ complete with helpful diagrams. Generally‚ this process involves placing the thread spool on the spool pin‚ guiding the thread through the thread guides‚ and then winding it onto the bobbin‚ which is placed on the bobbin winder spindle. Ensure the bobbin winds evenly and smoothly for optimal sewing performance. Refer to your manual for precise thread placement and any model-specific adjustments needed for successful bobbin winding. A properly wound bobbin ensures consistent thread delivery and helps prevent issues like thread bunching or uneven stitches during your sewing projects. Always unplug the machine before attempting any maintenance or adjustments. The manual is your go-to resource.
Threading the Upper Thread
Threading the upper thread is a crucial step before you begin sewing. Consult your sewing machine’s instruction manual for precise‚ model-specific guidance. The general process involves placing the thread spool on the spool pin‚ guiding the thread through various thread guides‚ tension discs‚ and finally‚ through the eye of the needle. Ensure the presser foot is raised while threading to release tension on the tension discs‚ allowing the thread to seat properly. Following the correct threading path is essential for proper stitch formation and preventing thread breakage or tension issues. Your manual will provide clear diagrams illustrating the correct path. Double-check that the thread is securely seated in all guides and that the needle is in its highest position before threading. A correctly threaded upper thread ensures consistent and even stitches‚ leading to successful sewing projects. Always refer to your manual!
Basic Sewing Techniques
Mastering basic sewing opens creative doors! Straight stitching is the foundation. The instruction manual guides you through consistent‚ even seams.
Straight Stitching
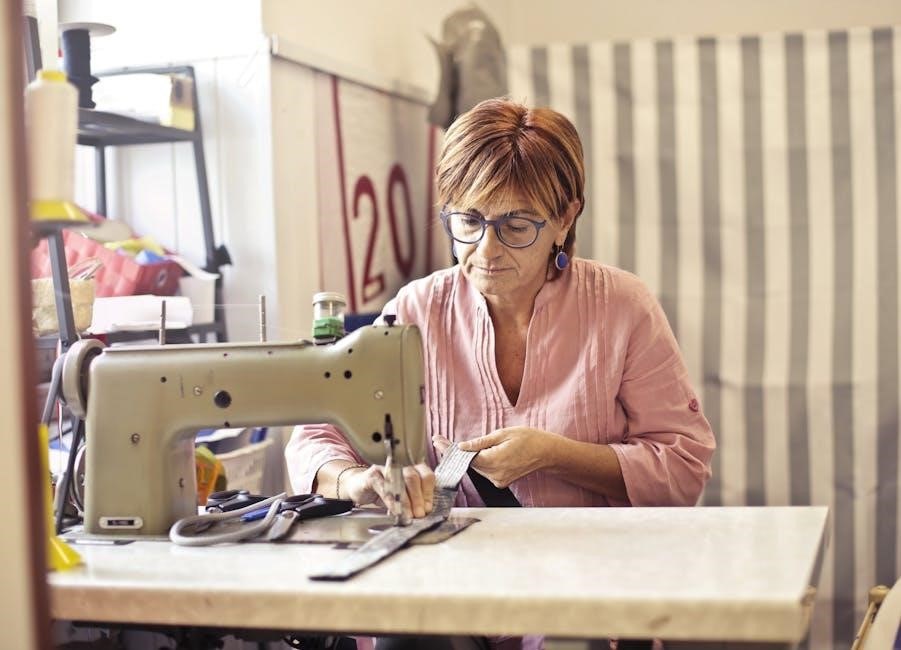
The straight stitch is the bedrock of sewing! To begin‚ ensure your machine is set to the straight stitch setting‚ as detailed in your instruction manual. Place your fabric under the presser foot‚ aligning the edge with your desired seam allowance – most manuals show seam guide markings on the needle plate. Gently lower the presser foot. Before starting‚ hold both the upper and bobbin threads to prevent tangling; Begin sewing at a slow‚ consistent speed‚ guiding the fabric gently; avoid pulling or pushing it. Maintain a straight line by using the seam guide as a reference. At the end of your seam‚ backstitch a few stitches to secure the thread. Raise the presser foot and carefully remove your fabric. Clip the threads‚ leaving a tail for finishing. Practice on scrap fabric to develop your control and consistency. Refer to your manual for troubleshooting tips if you encounter issues like uneven stitches or thread bunching. Proper tension settings‚ also described in the manual‚ are crucial for a clean‚ straight stitch. With practice‚ you’ll be creating flawless seams in no time!
Turning Corners
Mastering neat corners elevates your sewing projects! As you approach the corner‚ slow down and stop sewing when the needle is precisely where you want the corner point to be. Critically‚ the needle MUST be down in the fabric! Raise the presser foot lever‚ but leave the needle embedded in the fabric. This acts as a pivot point. Gently rotate your fabric to the new direction you wish to sew‚ keeping the needle as the anchor. Lower the presser foot again. Resume sewing in the new direction. Backstitch if needed to secure the corner. This method ensures crisp‚ sharp corners. The instruction manual may offer diagrams to further illustrate this process. Practice is key to achieving perfect corners consistently. Some machines have features like a needle down setting to automate this process; your manual will explain how to activate and use such features. Avoid rushing through corners; precision is more important than speed. Using a stiletto or awl can also aid in guiding the fabric for very intricate corners. Remember to adjust your stitch length if working with thick fabrics to ensure the needle penetrates smoothly for a clean turn.

Advanced Features and Stitch Options
Explore beyond straight stitches! Your machine likely boasts a variety of options. Consult your manual for creative techniques and decorative applications.
Zigzag Stitching
Zigzag stitching is a versatile stitch with numerous applications beyond simply preventing fabric edges from fraying. Consult your sewing machine’s manual for specific settings and adjustments related to zigzag stitches. Experimenting with different widths and lengths of the zigzag stitch can create unique decorative effects on your projects. Use it to create appliques‚ decorative borders‚ and even to attach elastic to fabric. The width of the zigzag stitch controls how far the needle moves from side to side‚ while the length determines how close together the stitches are placed. A wider zigzag stitch is ideal for creating bold decorative elements‚ while a narrower stitch is better suited for delicate edge finishing. Refer to the manual for guidance on selecting the appropriate settings for your specific fabric and desired outcome. Remember to practice on scrap fabric before applying the zigzag stitch to your final project to ensure you achieve the perfect look. Some machines offer multiple zigzag stitch variations. Always unplug the machine before cleaning. Use only accessories recommended by the manufacturer. Keep the manual accessible for future reference and troubleshooting. Using the proper settings from the manual is key!
Buttonholes
Creating buttonholes can seem daunting‚ but with your machine’s buttonhole feature and the instruction manual‚ it’s quite manageable. Most modern sewing machines offer an automatic buttonhole setting. The manual will guide you through the specific steps for your model. Typically‚ it involves attaching a buttonhole foot‚ marking the buttonhole’s desired location on your fabric‚ and letting the machine stitch the buttonhole automatically. It is crucial to use the correct buttonhole foot‚ which is often included with your machine. The manual illustrates how to attach it properly. Before stitching on your final project‚ always practice on a scrap piece of fabric that is the same type and thickness as your garment. This ensures that the buttonhole is the correct size and shape for your button. Follow the steps for adjusting the stitch length and width for the buttonhole. Consult your manual for troubleshooting tips if the buttonhole is not forming correctly. The manual will also show you how to use the seam ripper to carefully open the buttonhole without damaging the fabric. Read all instructions before using this function. The manual serves as a quick guide. Familiarize yourself with the machine before beginning. Keep hands away from moving parts. Use the machine only in dry locations.

Troubleshooting Common Problems
Encountering issues? Don’t worry! Your instruction manual is your best friend for solving thread bunching and other common problems. Consult it first!
Thread Bunching
Thread bunching beneath your fabric is a frustrating but common sewing machine problem. Thankfully‚ most causes are easily addressed with a few simple checks. Firstly‚ ensure your machine is correctly threaded‚ both the upper thread and the bobbin thread. Refer to your instruction manual for a detailed threading diagram specific to your model; incorrect threading is a primary culprit. Next‚ verify that the bobbin is properly inserted and wound evenly. Uneven winding can lead to inconsistent tension and bunching. Tension settings are crucial. The upper thread tension should be balanced; too loose or too tight can cause problems. Test different tension settings on scrap fabric until you achieve a balanced stitch. The type of thread you’re using matters. Ensure it’s compatible with your fabric and needle size. Using a thread that’s too thick or thin for your needle can disrupt the stitching process. Check your needle for damage. A bent‚ blunt‚ or incorrect needle size can snag the fabric and cause thread to bunch. Regularly replace your needle for optimal performance. Finally‚ clean your machine regularly‚ especially the bobbin area‚ to remove lint and debris that can interfere with thread flow. Your sewing machine manual provides specific cleaning instructions.
Needle Breakage
Needle breakage can be alarming‚ but understanding the causes can prevent future occurrences. One common reason is using the wrong type or size of needle for the fabric you’re sewing. Consult your sewing machine instruction manual for the recommended needle types and sizes for various fabrics. Heavy fabrics like denim or canvas require stronger needles‚ while delicate fabrics need finer ones. Another frequent cause is forcing the fabric through the machine. Let the feed dogs guide the fabric; avoid pulling or pushing it‚ as this can put undue stress on the needle. Ensure the needle is properly inserted and securely tightened. A loose needle can bend or break easily. Check that the needle plate (the metal plate under the needle) is the correct one for the stitch you’re using. Using the wrong needle plate can cause the needle to hit the plate and break. Bent or damaged needles should be replaced immediately. Even a slightly bent needle can cause breakage and damage your fabric. Also‚ make sure the presser foot is correctly attached and exerts even pressure on the fabric. Uneven pressure can cause the needle to flex and break. Finally‚ avoid sewing over pins. Hitting a pin with the needle is a sure way to break it. Remove pins as you sew to protect your needle and machine. Following these guidelines‚ along with consulting your manual‚ minimizes needle breakage.
Maintenance and Care
Proper maintenance ensures long life. Always unplug before cleaning. Use the manual for specific guidance. Regular care prevents issues.
Cleaning the Machine
Regular cleaning is crucial for optimal performance. Always unplug your sewing machine before starting any cleaning procedure to prevent electrical shock. Use a soft‚ dry cloth to wipe down the exterior surfaces of the machine‚ removing any dust‚ lint‚ or fabric scraps that may have accumulated. Pay special attention to areas around the needle plate‚ feed dogs‚ and bobbin case‚ as these are prone to collecting debris. For more stubborn dirt or grime‚ you can lightly dampen the cloth with a mild soap and water solution‚ but be sure to dry the area thoroughly afterward. Avoid using harsh chemicals or abrasive cleaners‚ as these can damage the machine’s finish. Inside the machine‚ use a small brush or vacuum cleaner attachment to remove lint and dust from the bobbin area and other accessible parts. Refer to your instruction manual for specific cleaning instructions and recommendations for your model. Consistent cleaning will help keep your sewing machine running smoothly and prevent costly repairs.
Oiling the Machine
Proper lubrication is essential for maintaining the smooth operation and longevity of your sewing machine. Consult your instruction manual to identify the specific oiling points on your model‚ as they can vary depending on the design. Use only sewing machine oil‚ as other types of oil may be too thick or contain additives that can damage the internal components. Apply a small drop of oil to each designated point‚ such as the bobbin case‚ needle bar‚ and other moving parts. Avoid over-oiling‚ as excess oil can attract dust and lint‚ creating a sticky residue that hinders performance. After oiling‚ run the machine at a slow speed for a few minutes to allow the oil to distribute evenly. Wipe away any excess oil with a clean‚ soft cloth. Refer to your manual for the recommended oiling frequency‚ which typically ranges from every few months to after every 20 hours of use. Regular oiling will help prevent friction and wear‚ ensuring that your sewing machine continues to operate smoothly and efficiently for years to come.
Finding Replacement Manuals and Support
Lost your manual? Don’t worry! Many resources are available online. Manufacturer websites and forums offer downloads and support for your sewing machine.
Online Resources and Downloads
Accessing your sewing machine’s manual online is easier than ever! Many manufacturers offer downloadable PDF versions of their manuals directly on their websites. Simply search for your machine’s model number on the manufacturer’s site to locate the correct manual. Websites like Singer‚ Brother‚ Janome‚ and Pfaff often have extensive online libraries of manuals for both current and older models. If you can’t find the manual on the manufacturer’s website‚ try searching online sewing forums or communities. These forums often have users who have uploaded manuals or can provide helpful advice. Remember to be cautious when downloading files from unknown sources and always scan them with antivirus software. Also‚ explore online video tutorials that demonstrate specific tasks or troubleshooting steps for your machine‚ complementing the written instructions in the manual. Sites like YouTube are treasure troves for this type of information. These online resources empower you to quickly resolve issues‚ learn new techniques‚ and keep your sewing machine running smoothly.
Manufacturer Websites and Forums
Manufacturer websites are invaluable resources for support related to your sewing machine. These sites typically host a wealth of information beyond just downloadable manuals. You can often find FAQs‚ troubleshooting guides‚ and video tutorials specific to your machine model. Many manufacturers also maintain active online forums or communities where users can connect‚ ask questions‚ and share their experiences. These forums can be a great place to find solutions to common problems‚ learn about advanced techniques‚ and get advice from experienced sewers. Participating in these forums allows you to connect with a community of fellow sewing enthusiasts who can offer support and guidance. Furthermore‚ manufacturer websites often provide information about authorized service centers and repair technicians in your area. This can be essential if you encounter a problem that you can’t resolve on your own. By leveraging the resources available on manufacturer websites and forums‚ you can ensure that you have the support you need to keep your sewing machine in top condition and continue enjoying your sewing projects. Don’t hesitate to explore these platforms for valuable insights and assistance.